User:Harmonea/RPG Map Ripping Guide
Important Note
The purpose of this guide is to help other wiki editors learn to rip clean textures from the game in the way I do. There is very likely little to no risk to your ToT account inherent to this process. All you're doing is reading the textures that are currently loaded into your own PC's RAM, and no publisher or dev can legally prevent this. No editing of game files is taking place, nor any access of files that should be inaccessible (i.e. datamining), nor any strange server request activity that could be tracked or noticed by HoYoverse. However, please be sensible about how you use this tool; remember that HoYoverse owns all legal and monetary rights to its games' assets, including the textures you'll find through this process. Follow the TOS and do not distribute it outside HoYoverse-controlled platforms (such as Hoyolab) or HoYoverse-affiliated platforms (such as our wiki). Violation of TOS and disrespect of HoYoverse's intellectual property could pose a risk to your ToT account, and neither the wiki nor myself will be responsible for such consequences.
Required Software
To begin this guide, you'll need to be able to rip and manipulate textures from an android emulator. Please read through User:Harmonea/Texture Ripping Guide if you're unfamiliar with this process.
Additionally, for RPG maps specifically, I recommend the use of the free software Tiled (link), which is a map editor intended for development and modification of maps in tile-based games. While this process can be done in any image editing software that allows manipulation of layers, Tiled streamlines this process extremely well. As a bonus, knowledge of Tiled is a somewhat transferrable skill - I learned Tiled not for Tears of Themis, but for Stardew Valley mods.
Process
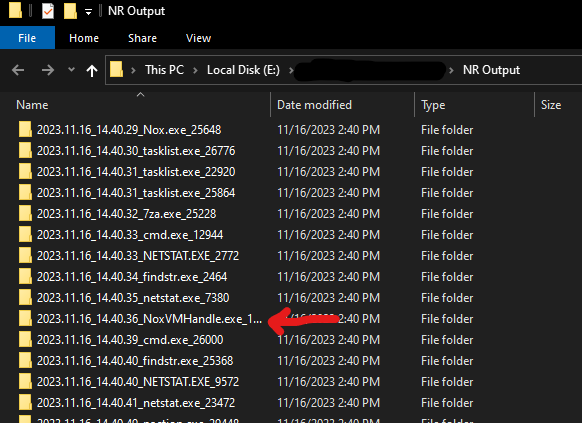
- Launch your emulator through NinjaRipper as in the previous guide.
- Start Tears of Themis and navigate to the map you're trying to recreate for the wiki. I will be demonstrating a room in the Villa Courtyard: Vault 2 (2nd Try).
- Press your NR "ForcedRip" keybind to dump the textures you can see.
- For RPG maps, the game seems to only load assets as the player approaches them. Move around the map and capture more frames. Your goal is to try to get one copy of every individual object so you don't have to come back later.
- Press the "Open RIP dir" button inside NR, or manually navigate to your output dir in Explorer, then open the folder containing your ripped textures as was covered in the previous guide.
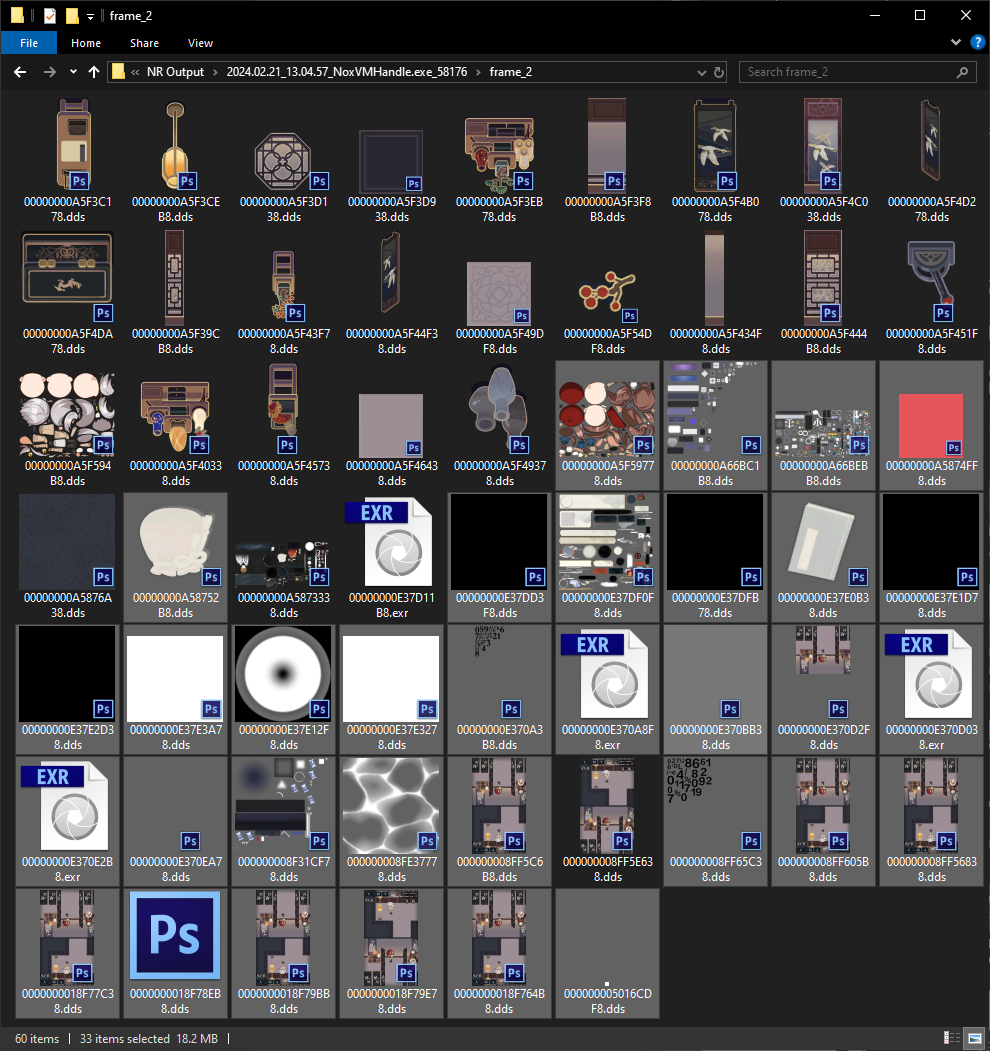
- I recommend combining files in all of the individual frame folders into one folder. You shouldn't have duplicate textures since they dump to the same filename each time.
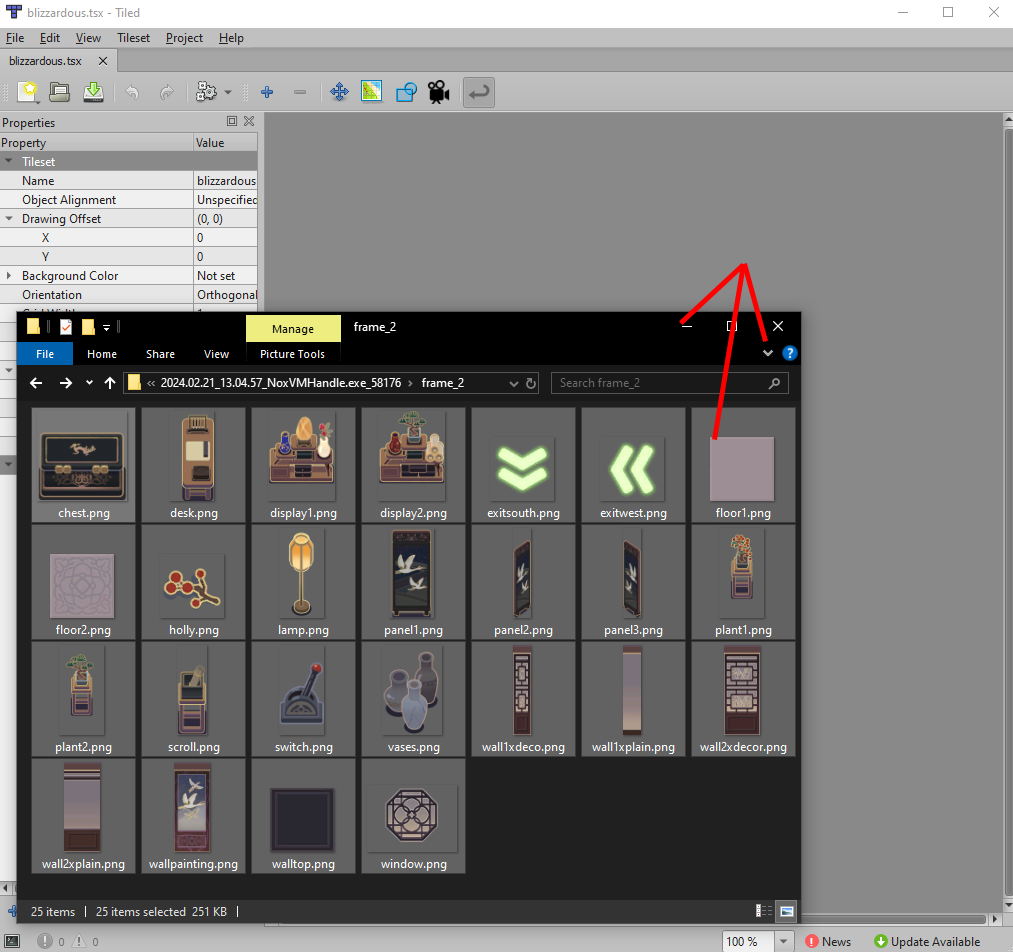
- For your sanity, consider deleting any non-DDS files, as well as any "sprite collection" files or live2d sprite files. You only want DDS files containing map obejcts. For example, to recreate our room of the Villa Courtyard level, I'm deleting the highlighted files:
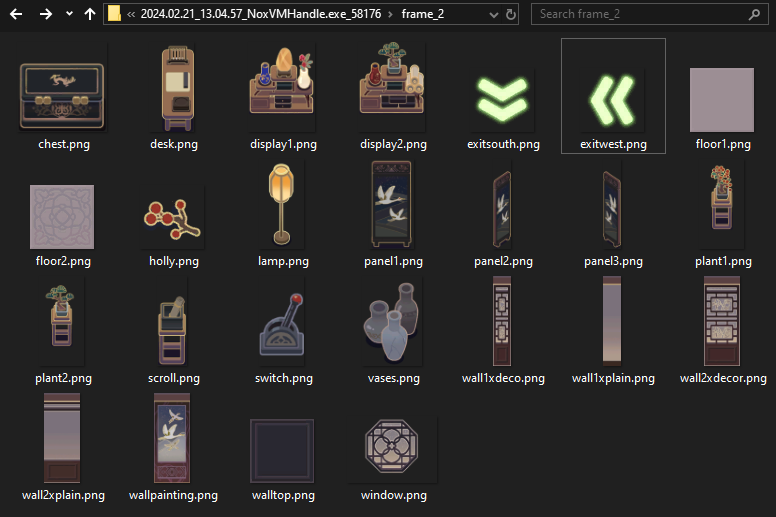
- You will need to flip each dds file vertically and re-save them as PNG format images, since Tiled cannot read DDS files and we need to preserve transparency. Yes, this is just as tedious as you think it is.
- While doing this step, keep an eye out for the smallest width/height you can find; you will need to enter this later into Tiled as your Tile Size. It will be a power of 2 with identical width and height -- probably 64x64, but some maps in the game's past have had larger tiles, so make no assumptions (SotT, for example, used 128x128 as its base). You will probably find this on a floor tile or wall piece (width).
- Some items have a weird-looking amount of transparent space around them, and you may get the idea to trim them down while you flip and re-save. Leave them as-is. This is a positioning hint; everything will be placed on a grid, and this is how these items give the illusion of being placed directly between two tiles.
- After capturing, flipping, and re-saving your map objects, consider giving them readable names. If you do many of these maps, you will accumulate a large collection of these small images, and you'll want to be able to sort through them. You should also move them to wherever you want your map work to be located -- probably outside the NR output directories -- because you shouldn't move the images after creating your tileset a few steps from now.
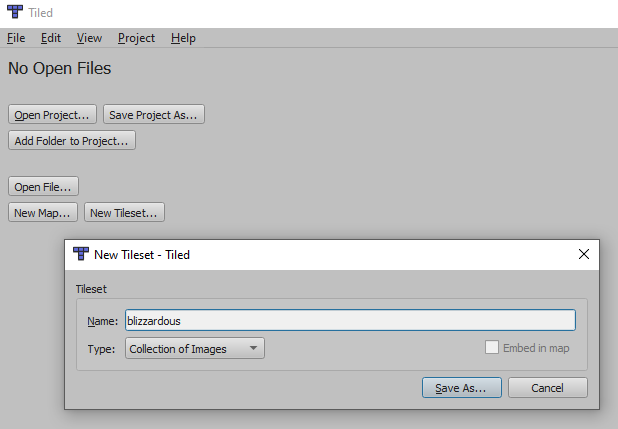
- Start up Tiled. On the startup screen, click "New Tileset..." then give your tileset a filename, ensure Collection of Images is selected in the drop-down, and "Save As..." in a location near your tile images.
- You can use the same tileset for multiple maps, so it's beneficial to collect all the tiles for a single event's maps in a single tileset.
- A very empty-looking screen will follow. Outside the program (in Windows Explorer or similar), navigate to your collected images and simply drag and drop them into the large blank area. The images should appear in the previously blank area. Don't worry if their relative sizes seem strange.
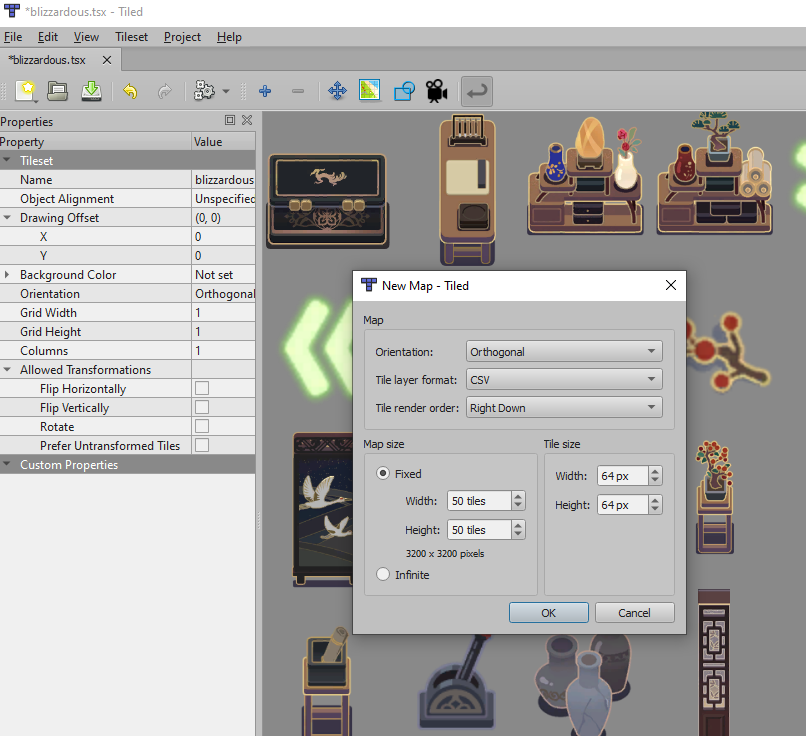
- Now go to File -> New -> New Map... and in the new menu that pops up:
- Ensure "Orientation" is Orthogonal (unless working on a Lost Gold style map, which is Isometric)
- Ensure "Tile Render Order" is Right Down (otherwise items will overlap in unwanted ways)
- Ensure your "Tile Size" is the value you found while re-saving your images in step 8
- Set your Map Size to a Fixed size that's larger than you think you'll need; we can trim it later. But don't stress over this, we can also expand it later.
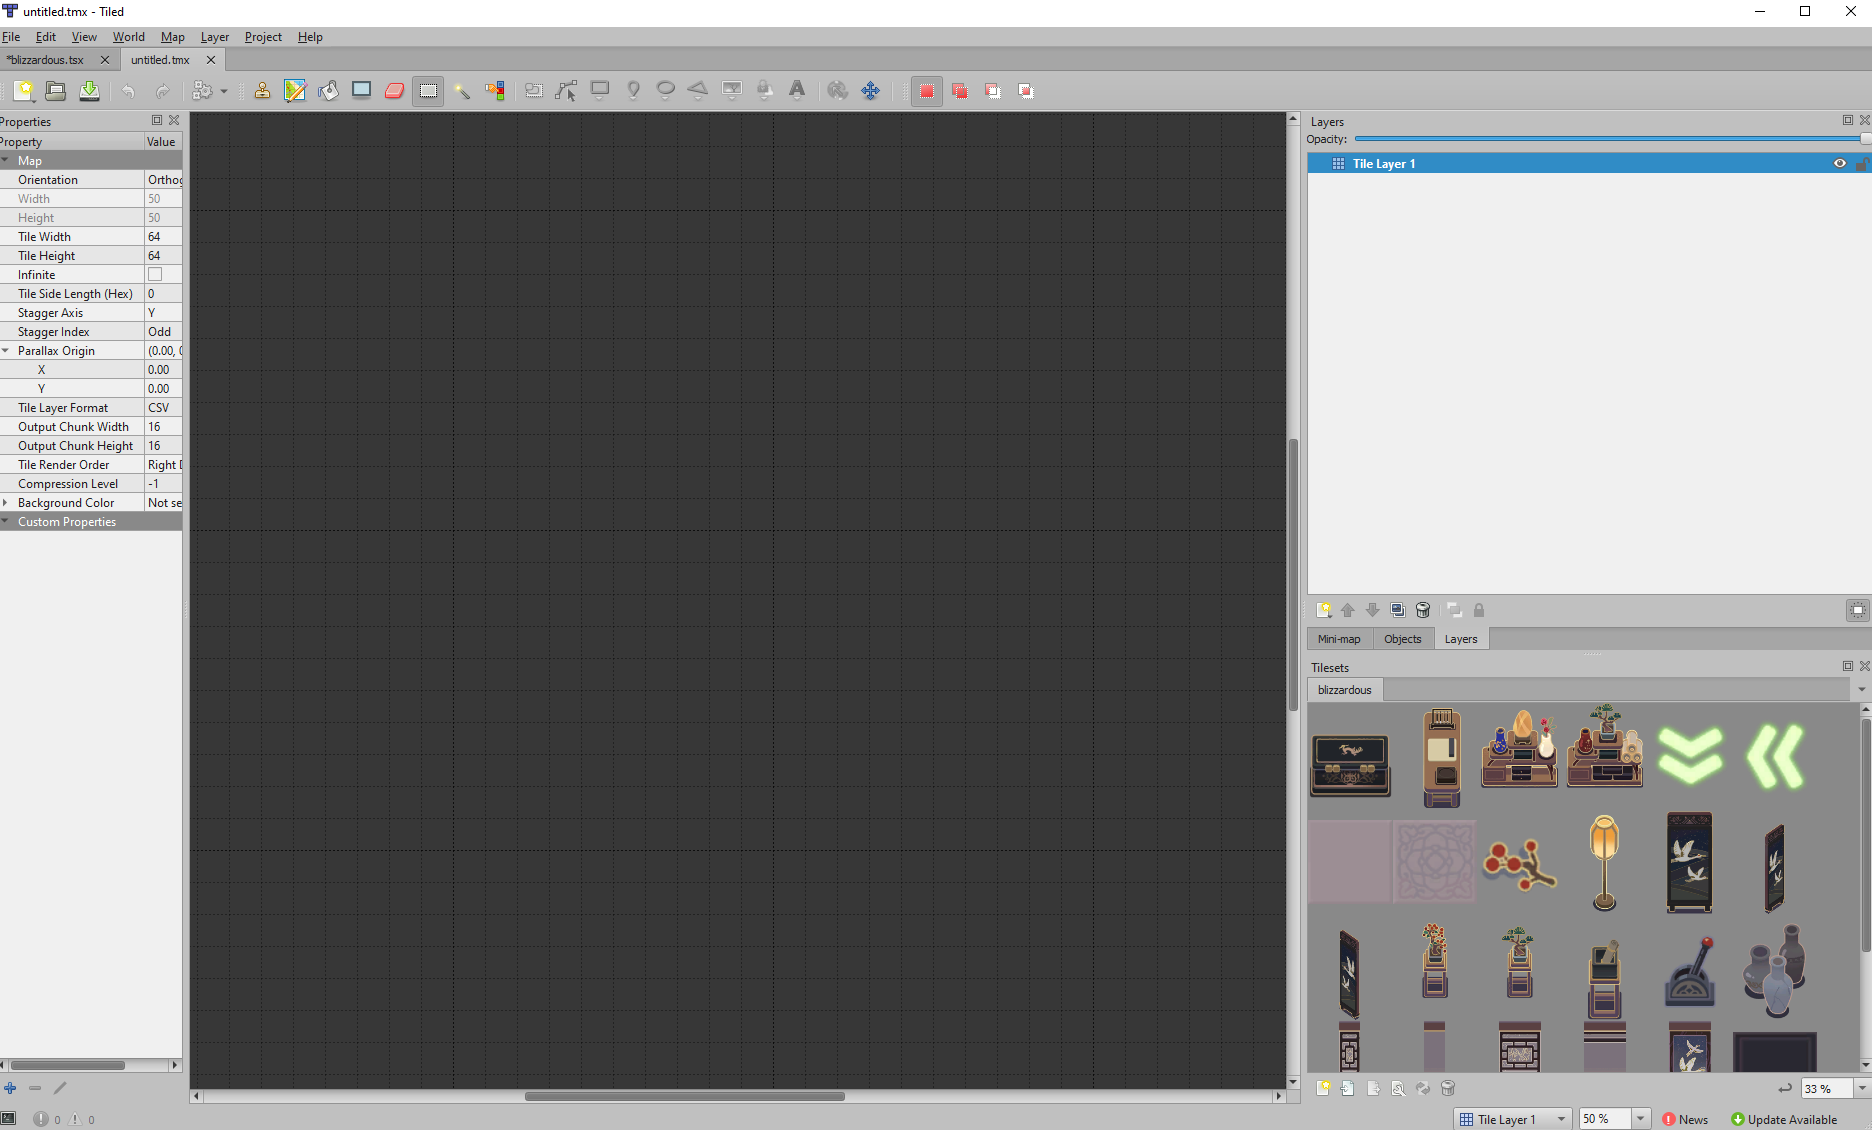
- You'll come to the main Tiled editor screen; if you made the New Map while looking at a tileset, your tileset should automatically be attached to the map in the bottom right panel. In the top right panel, there are tabs with various information (Minimap, Objects, Layers) - I recommend setting this to "Layers." In the center will be your empty map grid, where we'll start our work.
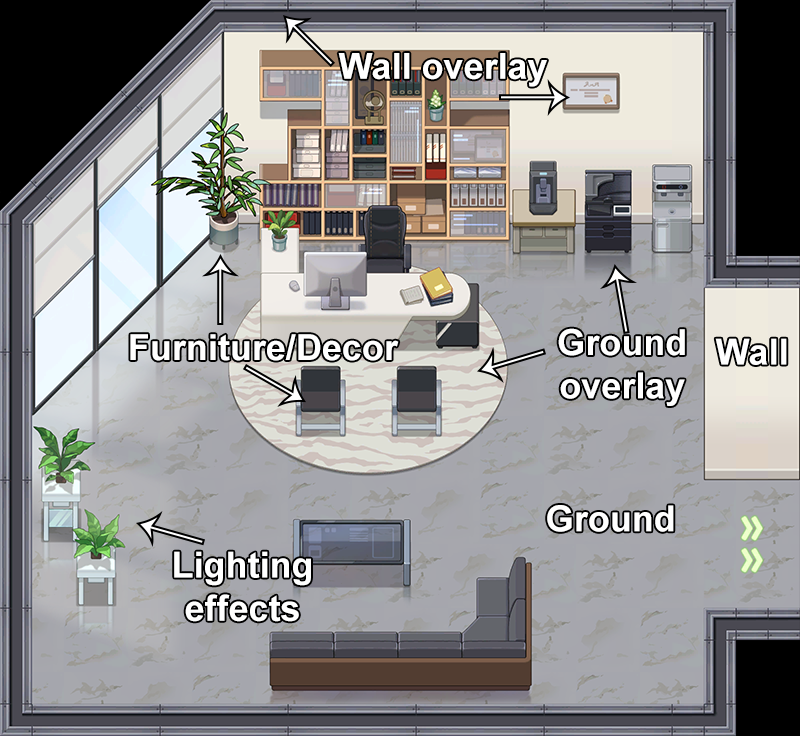
- Before we start painting, let's think about the layers of a ToT map. From bottom to top, we have:
- A dark background - this is rarely visible to the player, but it's present past the map edges regardless
- Ground textures - basic tile, carpet, street, sidewalk, snow, etc
- Ground overlays - rugs, path edges, rocks, plant debris, reflections on a shiny floor - things you can walk over
- Walls - Visible at the north side of a room
- Wall overlays and top tiles - windows, paintings, doors, and the border that goes above every wall and (for enclosed spaces) surrounds the full map.
- Furniture and decor - chairs, desks, tables, counters, plants - anything that's "in the world" that you can walk around, interact with, or be obstructed by. Often impassible, sometimes not. Some large pieces of furniture might be split into multiple ripped images. There could be multiple layers for this! (For example, a lamp on top of a table)
- Lighting effects - light from windows, etc - at first glance it might seem weird that we separate these from the ground-overlay "shiny floor" reflections, but a lighting effect will blend with the objects beneath it to actually change their appearance.
- From here it's a matter of looking at the game and then painting the appropriate tiles in the appropriate layers. Select a tool in the top bar (such as the stamp tool, shape fill tool, eraser, etc), select a tile, select a layer, and paint away. Here is an example in which I'm trying to recreate the bottom half of the screenshot on the left:
- Pardon the "draw the rest of the owl" moment, but you'll really just have to get a feel for how to use the program on your own from here....
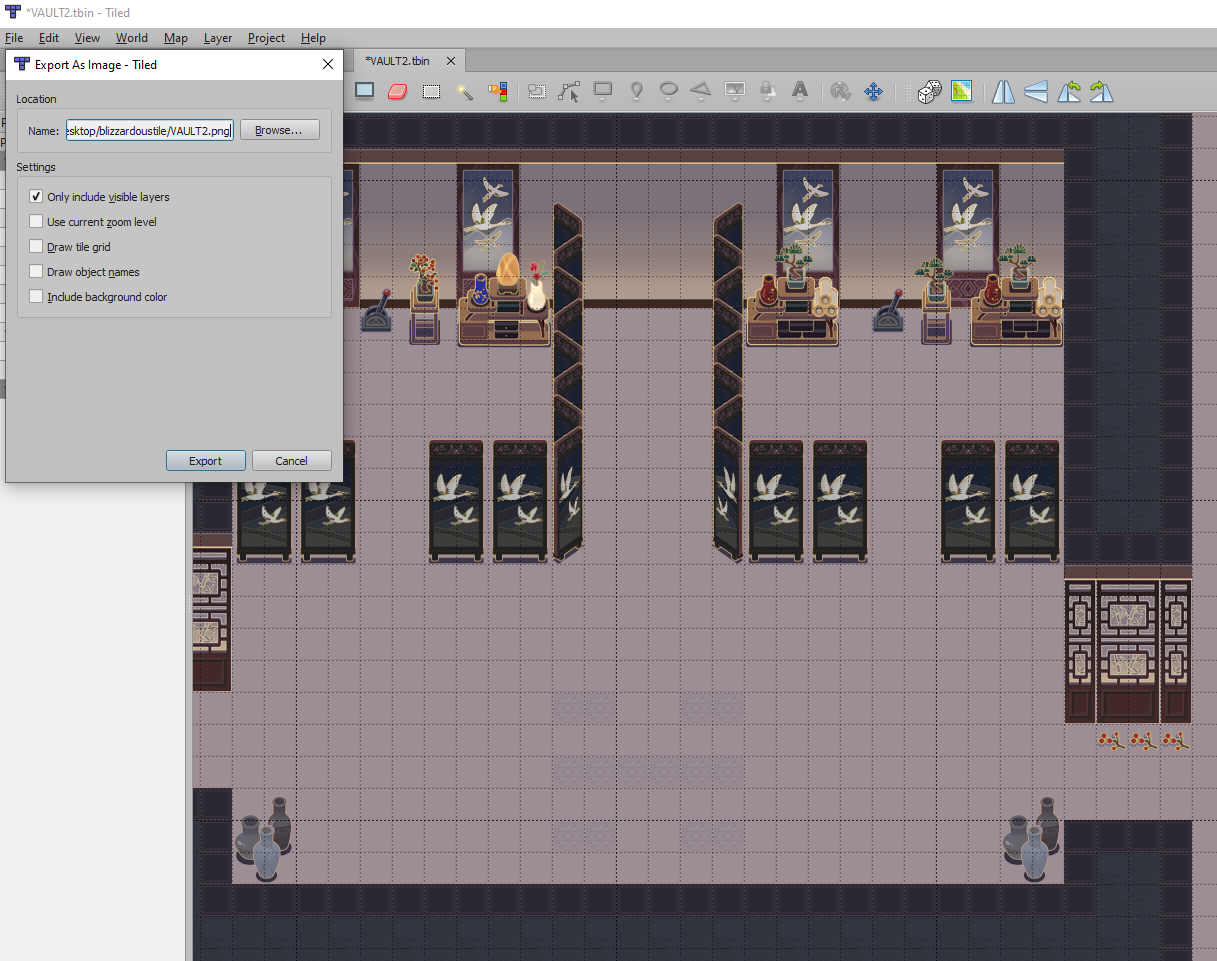
- When you're finished with the map, File -> Export As Image... and pick a place to save it. Ensure "Only include visible layers" is checked; this will let you do some of the advanced tips discussed below.
Advanced Tips
- Lighting effects should be exported separately. You'll export the map in two pieces: everything but the light, and only the light. You'll then bring these together in a photo editor and change the blending mode on the lighting layer to "Lighten" or "Screen."
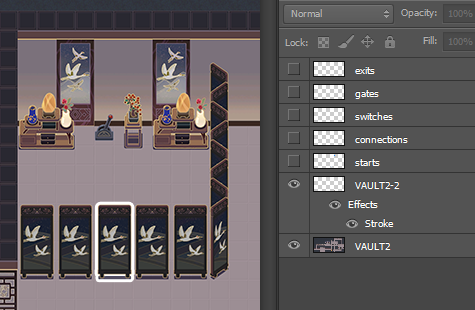
- Consider exporting mechanical elements, like doors that are opened by switches, on separate layers as well. You can bring the layers together in a photo editor and put effects on the mechanical layer to highlight e.g. a screen that will disappear when a certain switch is thrown.
Questions?
Please leave questions, comments, or suggestions for this guide on the guide talk page, or find me on the wiki's discord as @harmonea.
